The whole point of this blog was to show my attempts at crafting, instead it seems to be a page for ranting and emotional outbursts which has actually very therapeutic.
And its not that I haven’t been doing much crafting, more that I just haven’t got round to sharing any of it. But all that is going to change!!
The first craft project I’m sharing it one of this gifts I made this Christmas. It was for my lovely Yoga teacher Manna.
I wanted to make something for her to advertise her classes as they are always such a giggle.
When I first set up my jewellery business and was attending wedding and craft fairs I had made myself a t’shirt embellished with Swarovski crystals. It that always got plenty of attention, so set about making one for her.
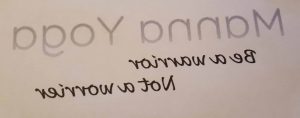
To start I played about with different fonts, trying to get the name and strap line working together.
As Manna is so slim I had to stick with something I could use smaller crystals on.
Once finalised I flipped the design to create a mirrored version and printed it out.
Next I overlay some hotfix transfer paper into place and tape into position.( Remember to position it shiney side down with the sticky side facing you) (http://www.scattercrystals.co.uk/4-x-hotfix-crystal-transfer-sheets-12cm-x-12cm-3056-p.asp)
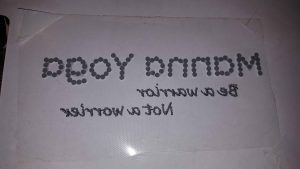
When I was ready to start fixing on the crystals, I peeled a corner of the protective cover to one side and start applying the crystals upside down. I find it easier to do this with a good pair of blunt nosed tweezers, although its a lot harder now my hands get so shakey!
This phase can be very time consuming, but a little bit of patience now will mean a much better final design. And by starting just one side I could cover it over to rest any time I needed.
I used a 2mm crystal and a 3.2mm crystal both with aurora borealis finish. (http://www.scattercrystals.co.uk/pk-50-swarovski-flatback-crystals-ss12-hotfix-crystal-ab-7468-p.asp)
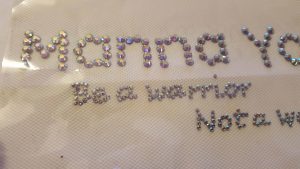
Once finished I put the protective layer back on before turning my design over to check out spacing and if the font was still legible (otherwise you’ll get in all sorts of crazy mess with it sticking to things it shouldn’t.)
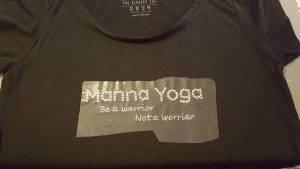
Once are happy with the design I positioned it sticky side down onto the t’shirt. Again its best to take some time at this stage, measuring out that it is central and level.
I also placed a piece of paper inside the garment as if it is very thin fabric it can bond through multiple layers.
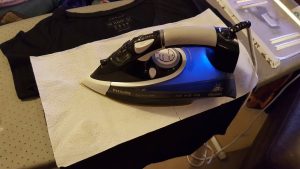
Once happy with design and placing, I covered it with a piece kitchen paper and press the design with a hot iron. (I usually use the setting recommended in garment label. If this is a low setting you will need to spend a little longer going over the design. Also make sure the steam setting is not on!)
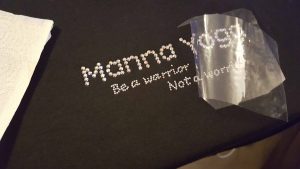
To check crystals had bonded I waited a few moments for it to cool then carefully lifted a corner of the transfer paper. (Any problems you can always put it back down and try again.)
For extra security I turned the garment inside out, covered with paper and ironed onto the backs of the crystals to ensure all glue has melted and bonded.
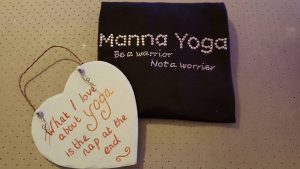
Really chuffed with how it turned out as I hadnt made one of these Tshirts in over 10 years!
And even happier to see Manna showing it off at last weeks class!
https://www.facebook.com/mannayoga1
