Since before we moved into our new house two and a half years go my boy has been on about having a zombie themed bedroom.
I thought this was a fab idea and quickly started to transform my husband’s old heavy metal t-shirts into wall art….. But apparently they were too scary and gave the boy nightmares.
It’s not surprising really given that this is the child who finds every excuse to leave the room when me and his sister watch anything the slightest bit scary. It’s either that or he hides behind his zombie pillow ( http://www.prittstickandpainkillers.com/plants-vs-zombies-fleece-cushion/ )
So the last few weeks I’ve concentrated on turning his room into a tame zombie themed room with graffiti furniture and blood splatters up the wardrobe.
It’s been slow going as I’ve only managed to paint one wall a day due to the Fibro bloody myalgia, but at last we’re getting there.
Here’s how I transformed his very boring desk.
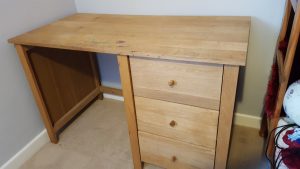
I started off with giving the wood a good wash down.
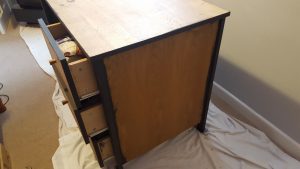
Then using Rustoleum Graphite matt chalk effect paint I painted all the areas of the desk that I was not decoupaging.
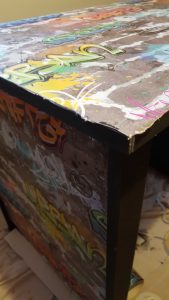
Once dry I applied quite a generous coating of decorators PVA and attached the wallpaper. Its very important at this point to spend a good amount of time removing any air bubbles with a squeegee. Wipe up any PVA that is pushed out at this stage otherwise it can be quite difficult to sand off once dry.
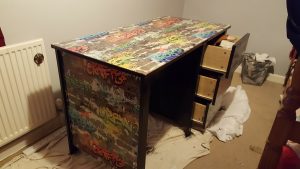
After 24 hours drying I sanded down the edges where the wall paper and wood meet, then dusted down before adding a coat of Yacht varnish all over. Not only does this protect from wear and tear, but it gives it an aged yellowing finish. If you prefer not to get this aged finish a clear wood varnish would work just as well.
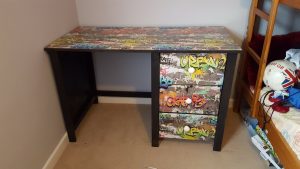
Now just to make the draw knobs a little more funky and it’ll be all finished.
